Key Takeaways
- Mini split self-installation is possible with the right tools and parts, but refrigerant adjustments must be handled by a licensed HVAC technician.
- Properly cutting, flaring, and securing the copper refrigerant lines is essential for a leak-free connection between the indoor and outdoor units.
- Using a vacuum pump to remove air and moisture from the refrigerant lines ensures efficient system operation before releasing the pre-charged refrigerant.
Mini Split Self-Installation Guide
Overview
With the right parts and tools, owners of almost any brand or type of mini split can now self-install their system.
IMPORTANT: This how-to guide is not written to add, remove, or adjust refrigerant levels. Its only purpose is to explain how to install the line set and remove air from the system. All refrigerant used comes pre-charged from the factory in the condenser unit. If adding, removing, or adjusting refrigerant is necessary, please STOP immediately and contact a licensed HVAC technician for assistance.
Parts Needed to Complete this Install
- HVAC vacuum pump
- Pump oil
- 60" length of high-pressure charging hose
- Threaded charging adapter
- Low pressure access tee
- 5-piece copper flaring drill bit set
- Pressure gauge with quick coupler
- Copper line cutting tool
Tools Needed
- Phillips head screwdriver
- 2 adjustable wrenches or channel lock pliers
- AC power for vacuum pump operation
- Power drill for flaring kit
- 5mm hex key
- Soapy water or leak detection solution
IMPORTANT: It is assumed that the indoor unit(s) is mounted, the outdoor unit is mounted, and the refrigerant line set is run but not yet attached to the units.

Step 1
On the outdoor unit of your mini split, locate and remove the plastic refrigerant line cover. This is usually attached to the unit with one or more Phillips head screws. Set the cover and screws aside until self-installation is complete.

Step 2
Once the proper length for the line set is determined, leaving enough room for final connections, use the copper line cutting tool to remove the factory flare and fitting so that the copper line set ends are bare. Remove any burrs as needed. Repeat for all lines to be attached to the outdoor unit.

Step 3
Locate and remove the protective threaded caps on the "in" and "out" refrigerant ports on the outdoor unit. These caps have plastic inserts. You may remove the inserts and reuse these fittings, or use the fittings removed in Step 2.
Step 4
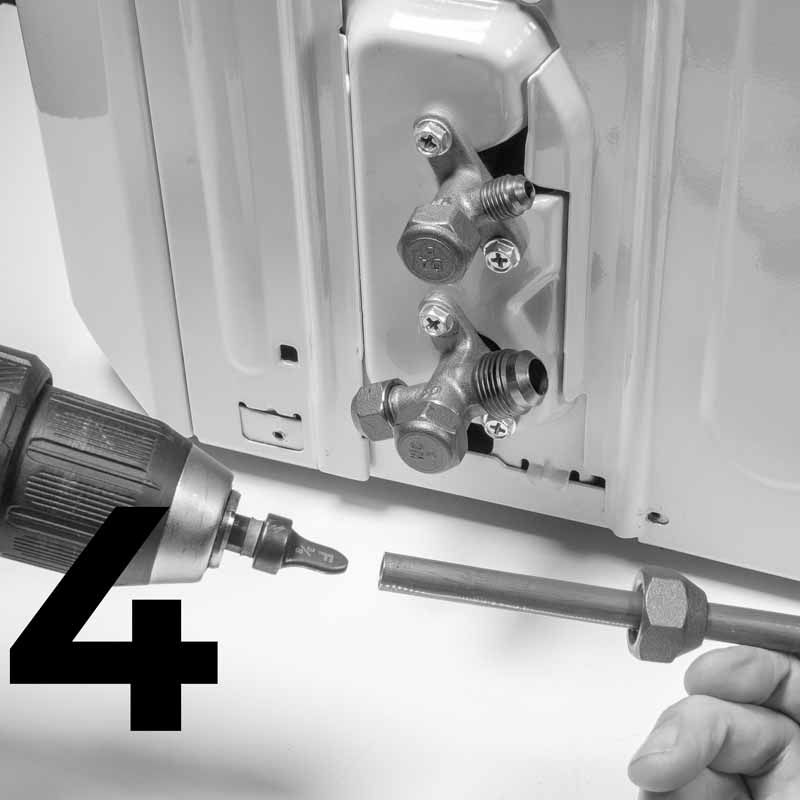
Slip the fitting onto the cut copper line and use the appropriate size flaring bit with a power drill to flare the end of each copper line.

Step 5
Insert the flared end of the copper refrigerant lines into the sockets. Make sure the line is fully seated, then use two wrenches to tighten the fittings securely.
Step 6
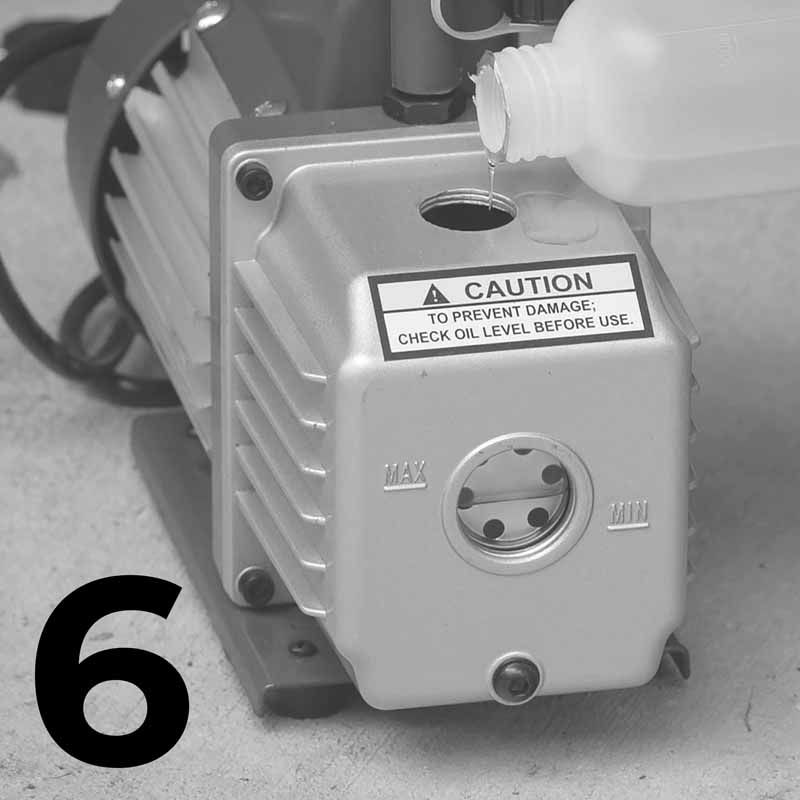
Prepare the vacuum pump by unscrewing the oil reservoir cap and filling it with pump oil. Use the sight glass to ensure oil reaches the indicator lines.
Step 7
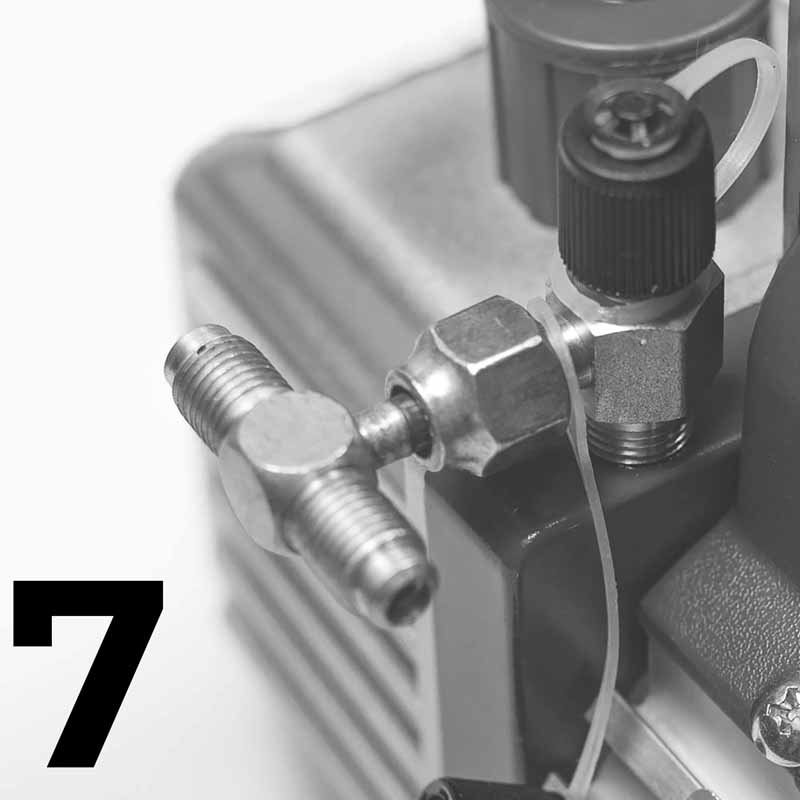
On the vacuum pump, remove the inlet cover and thread on the low-pressure tee until hand-tight.
Step 8
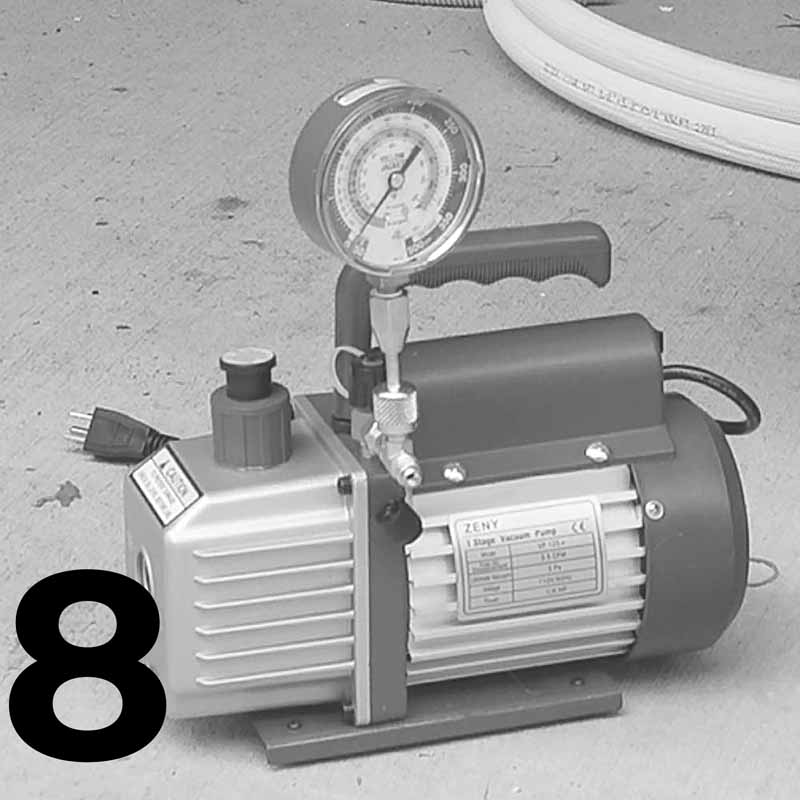
Thread the pressure gauge hand-tight onto one side of the low-pressure tee.

Step 9
Thread the 60" flexible high-pressure hose onto the other side of the low-pressure tee until hand-tight.
Step 10
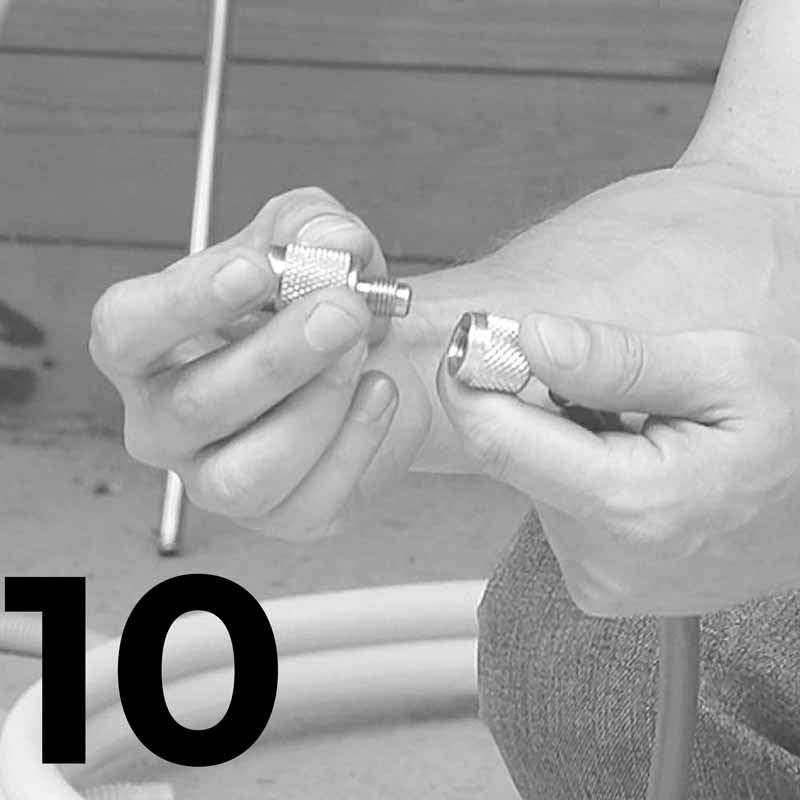
Thread the adapter onto the flexible high-pressure tubing.
Step 11
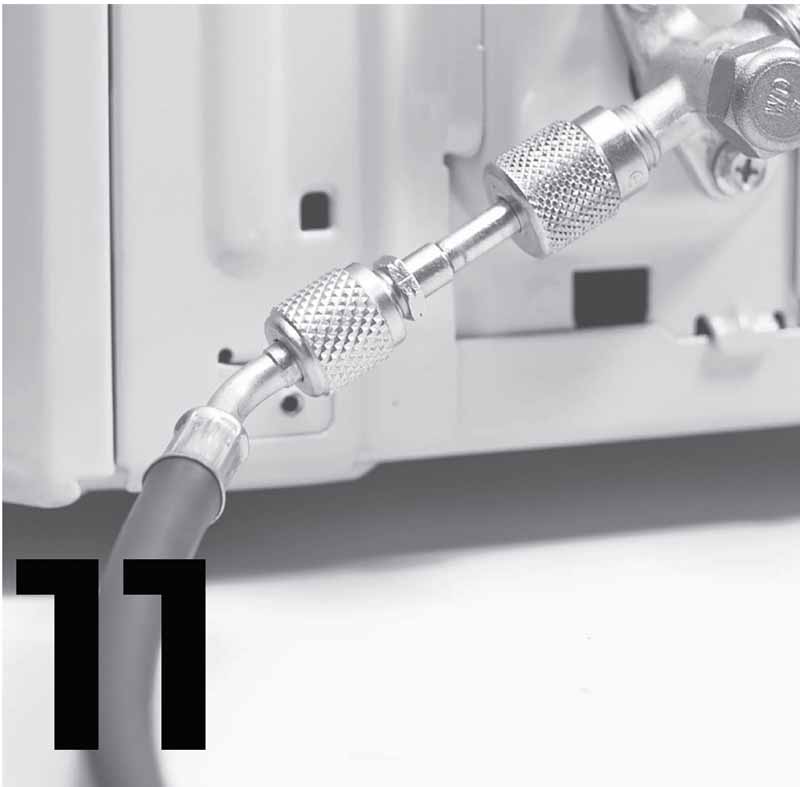
On the outdoor unit, remove the protective cap on the refrigerant port. Thread the other end of the hose to the port until hand-tight.
Step 12
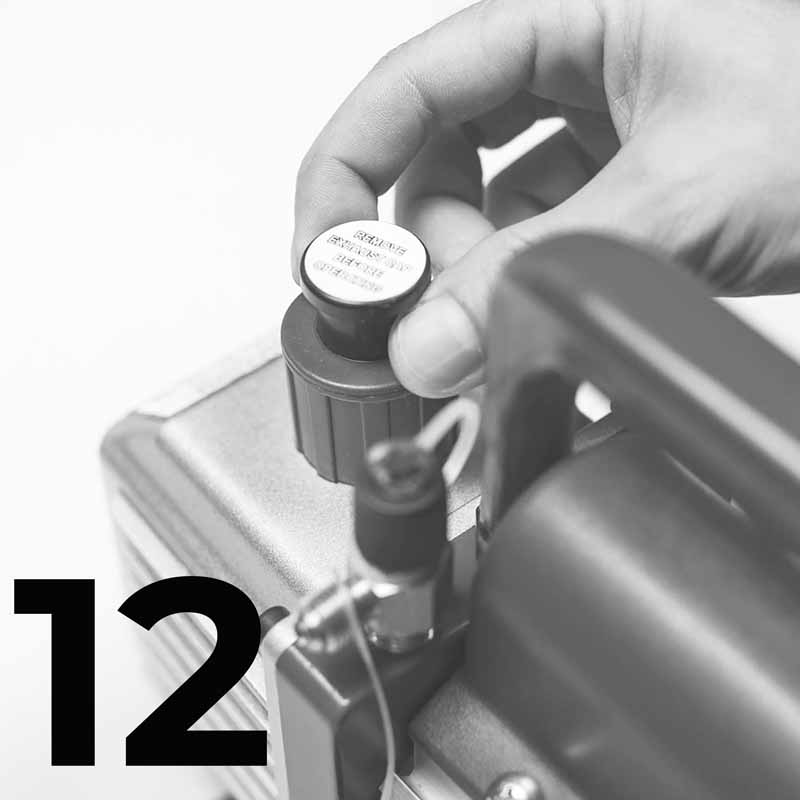
Remove the exhaust cap labeled "REMOVE EXHAUST CAP BEFORE OPERATING." Plug in and turn on the pump. A fine mist from the exhaust port is normal—it’s water vapor from the lines.
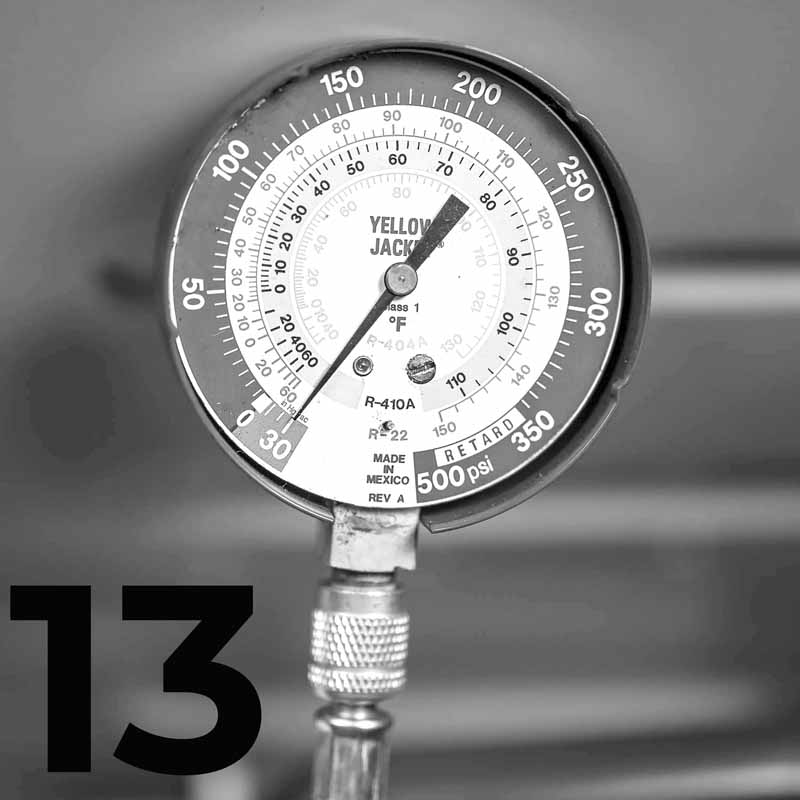
Step 13
Run the vacuum pump until the gauge shows -30 psi. This can take 15–30 minutes or longer for larger line sets. If the gauge holds steady after shutting off the pump, the line is vacuum-sealed. If not, check for leaks.
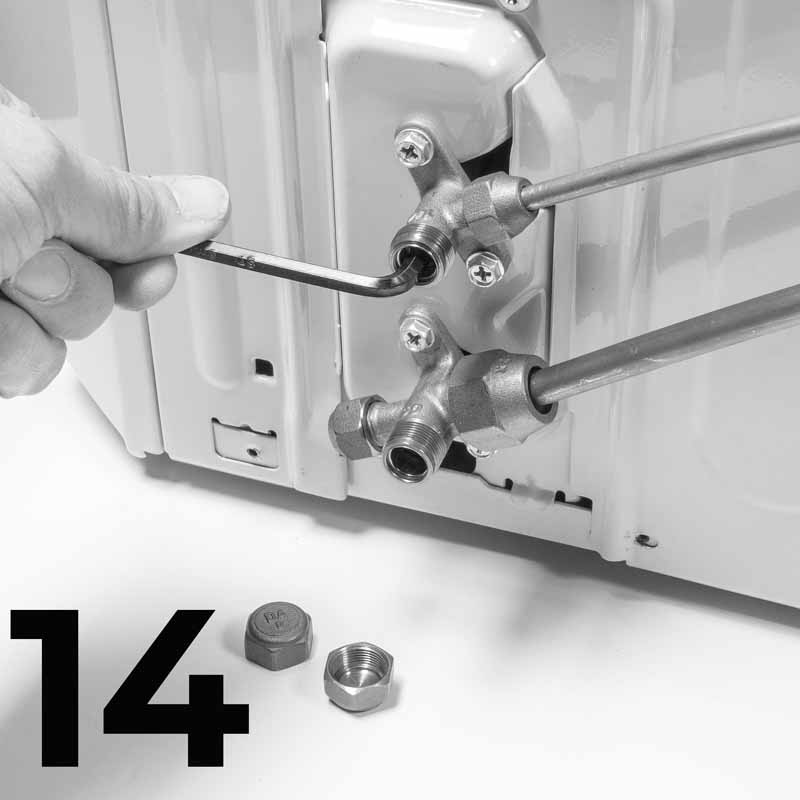
Step 14
Remove the valve caps on the outdoor unit. Use a 5mm hex key to open the refrigerant valves. You'll hear clicks or hissing as the refrigerant enters the lines. Check for leaks using soapy water.
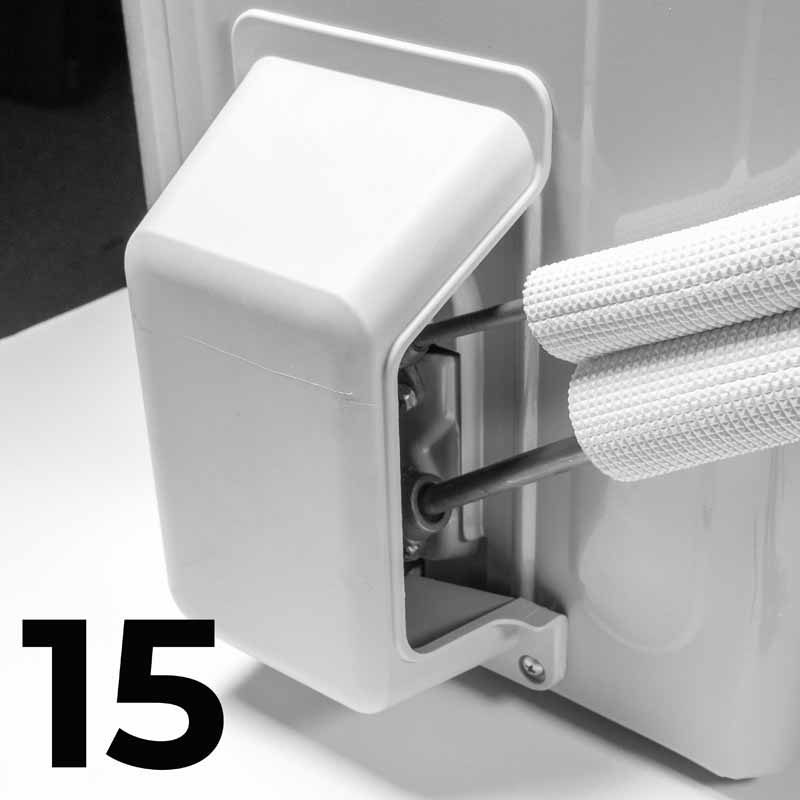
Step 15
Remove the vacuum line. Replace and tighten all caps, reinstall the refrigerant line cover, and secure with screws.
Successful Completion of the Self-Installation of a DIY Mini Split System
The mini split is now ready to power on and begin operation. Congratulations!
By carefully following these steps, you've successfully completed the self-installation of your mini split system. Remember to double-check all connections and verify that there are no leaks before powering on your unit. Enjoy the improved efficiency and comfort your new system brings!
Related Products
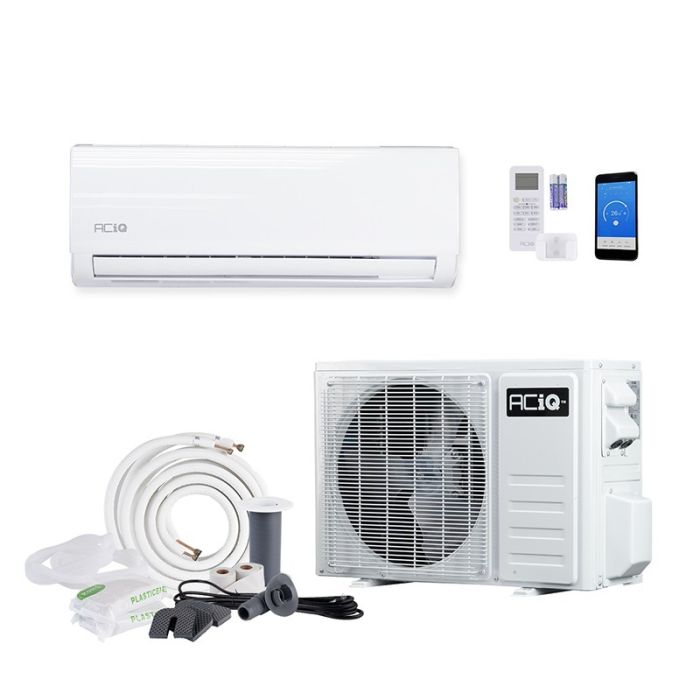
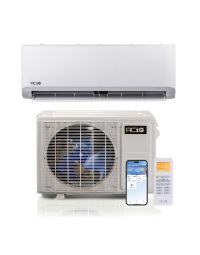
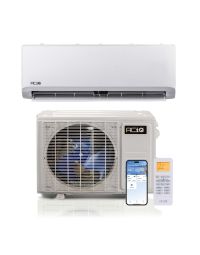
12,000 BTU 19 SEER2 ACiQ Essentials Single Zone Wall Mounted Mini Split System w/ WiFi - 230V
Brand: ACiQ
Price: $644.99 (In Stock)

Infinity Living EZ Connect 12,000 BTU 20 SEER Ductless Mini Split AC and Heat Pump | 16ft DIYCOOL Install Kit - 115v
Brand: Infinity Living
Price: $1099.99 (In Stock)

MRCOOL DIY 4th Gen 36,000 BTU 16 SEER Ductless Mini Split AC and Heat Pump with Wireless-Enabled Smart Controller
Brand: MRCOOL
Price: $2888.00 (In Stock)